


make your own beeswax wrap
We’re always looking for ways that we can reduce our environmental impact. We have loved seeing more and more people using plastic free alternatives to everyday items. One of our favourites is beeswax wrap, an alternative to plastic cling film, it’s perfect for lunchboxes or wrapping up leftovers. We thought we would share a little step by step guide for you to make your own! Perfect for any bigger items or custom sizes you might need, this method is so simple, and you can get your little ones involved by helping to scatter the beeswax on the fabric, or choose their own fabric designs for the wraps.
HOW TO MAKE YOUR OWN BEESWAX WRAPS
You will need…
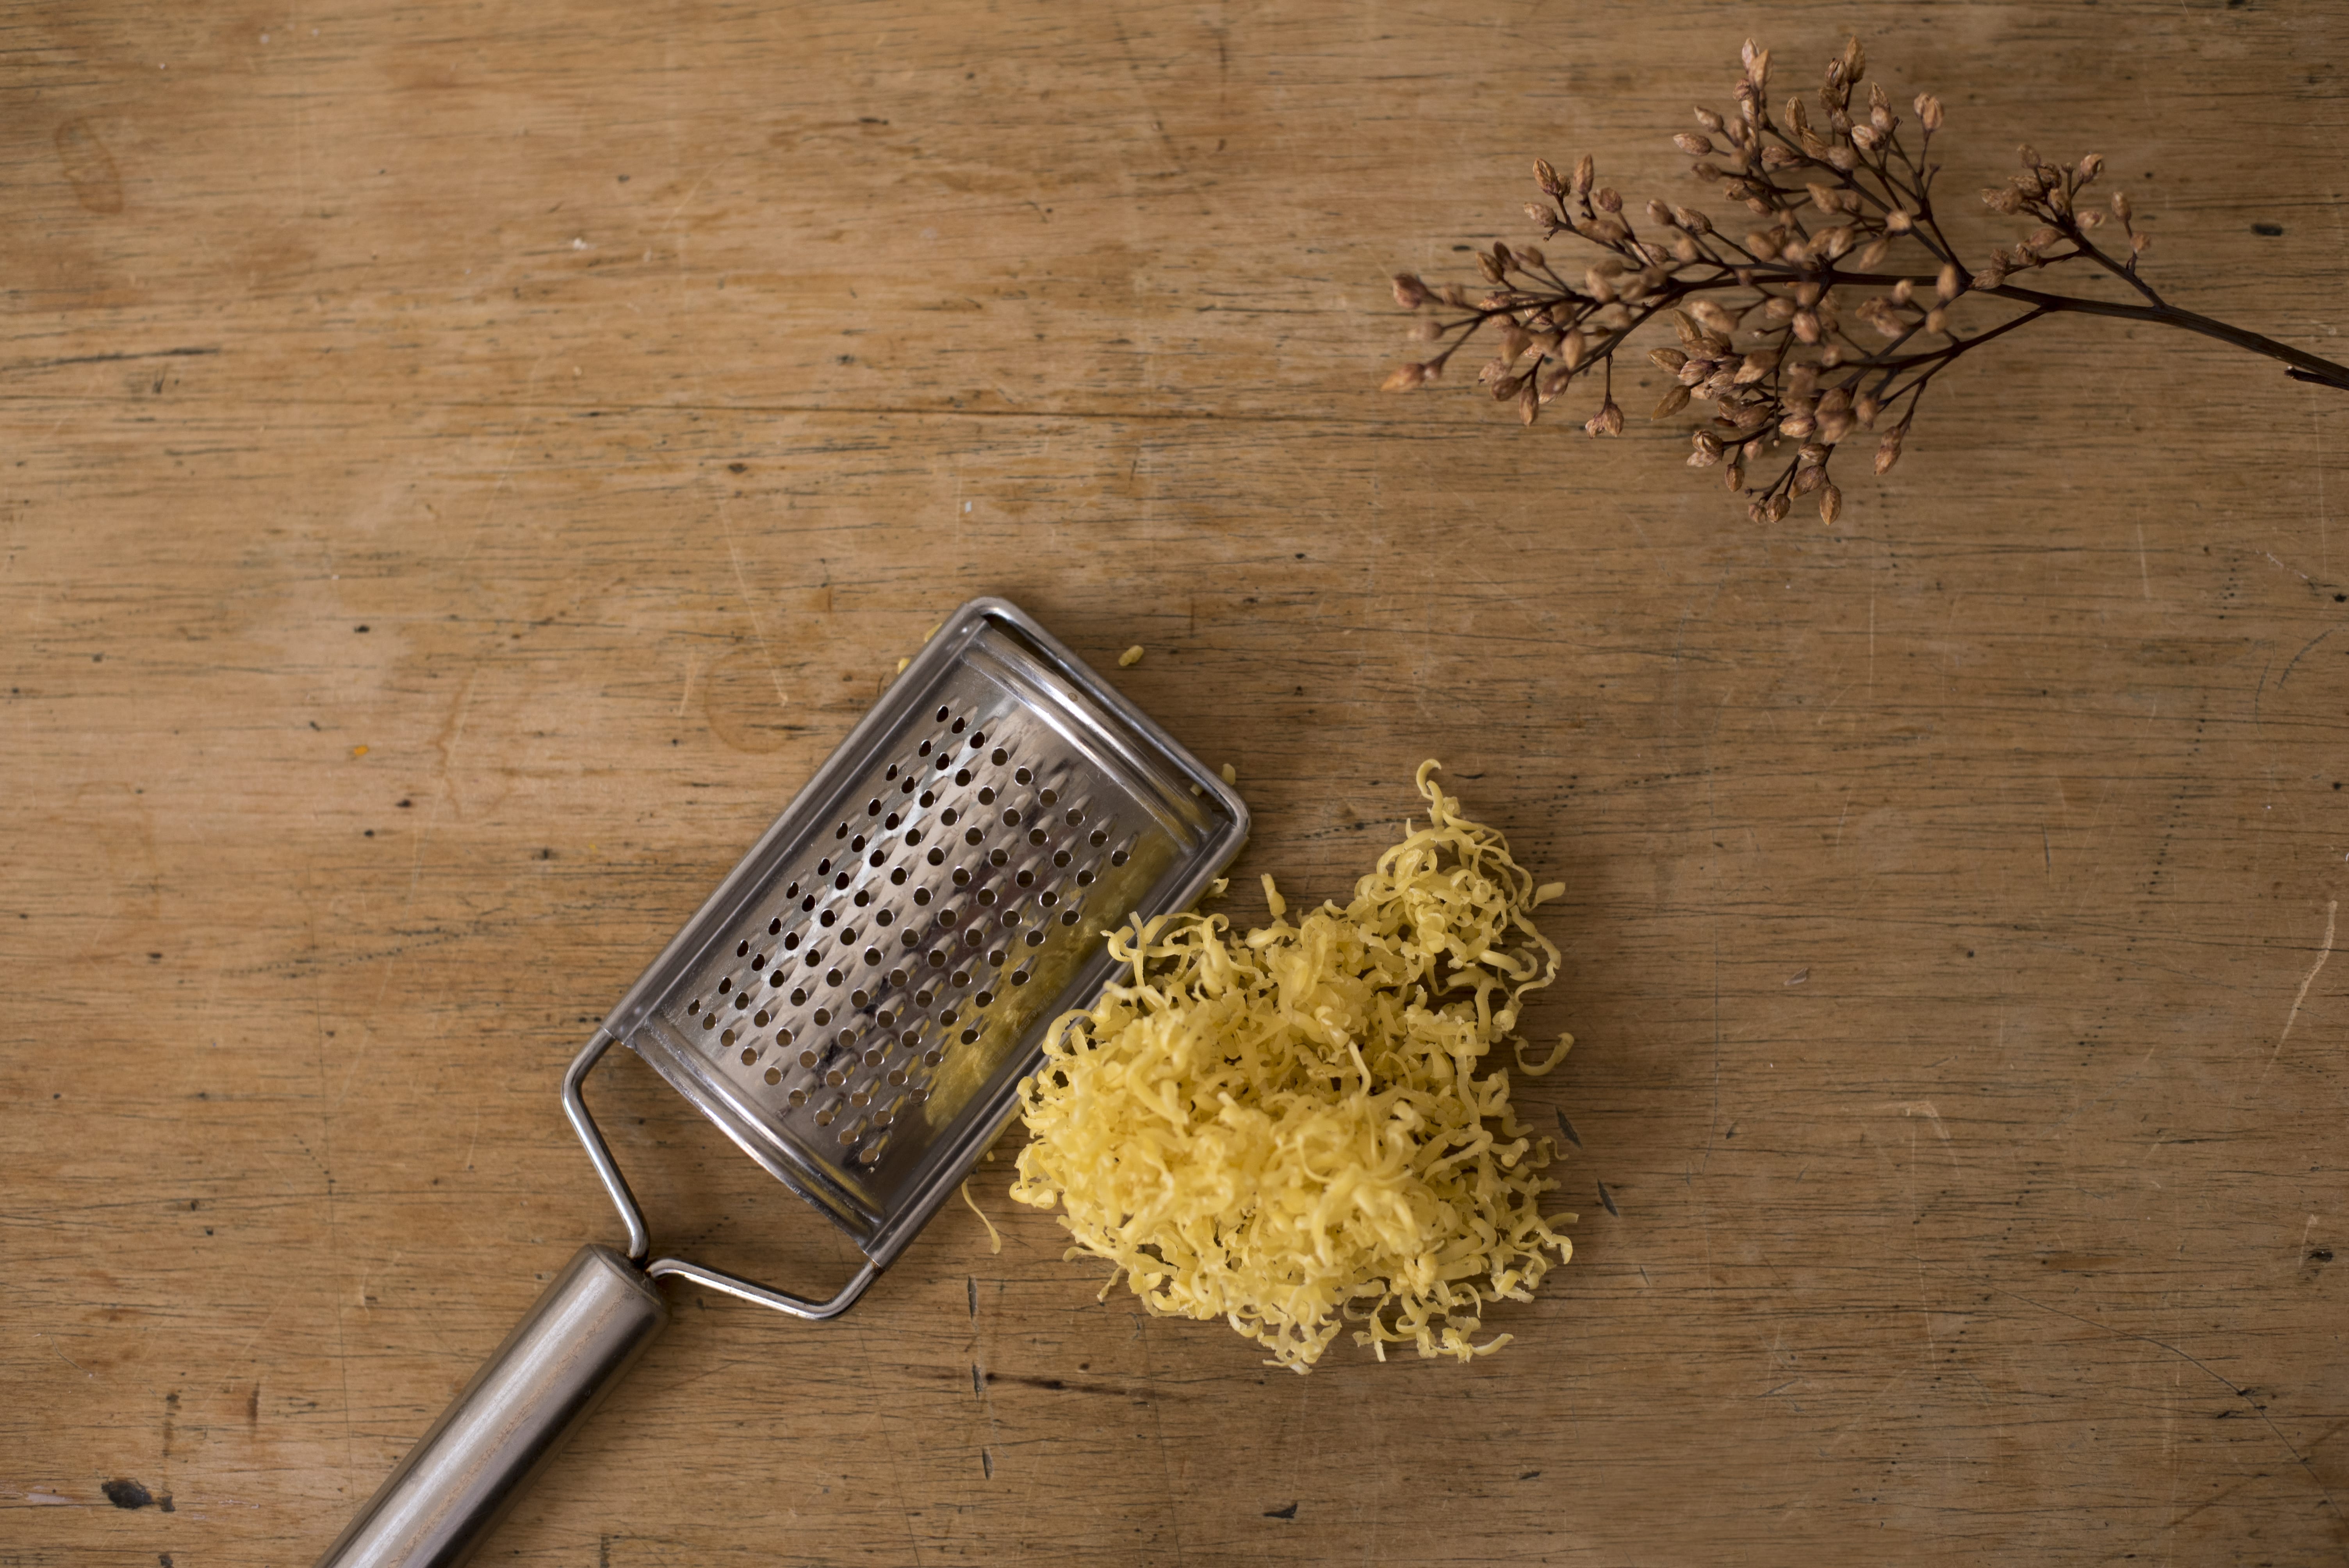
Beeswax blocks or pellets (you might find these at your local farmers market or at wholefoods stores like Huckleberry)
A grater (if using beeswax in block form)
A natural fibre such as cotton, that is light but tight in weave (not stretchy, woven not knitted) cut into various sizes
An iron
Fabric scissors (or pinking shears if you’d like crimped edges)
Baking paper
Newspaper or old fabric to protect your ironing board
Method:
1. Turn your iron on at a medium temperature
2. Line your ironing board with some newspaper or old fabric to protect it from any beeswax, and lay down some baking paper on top of this
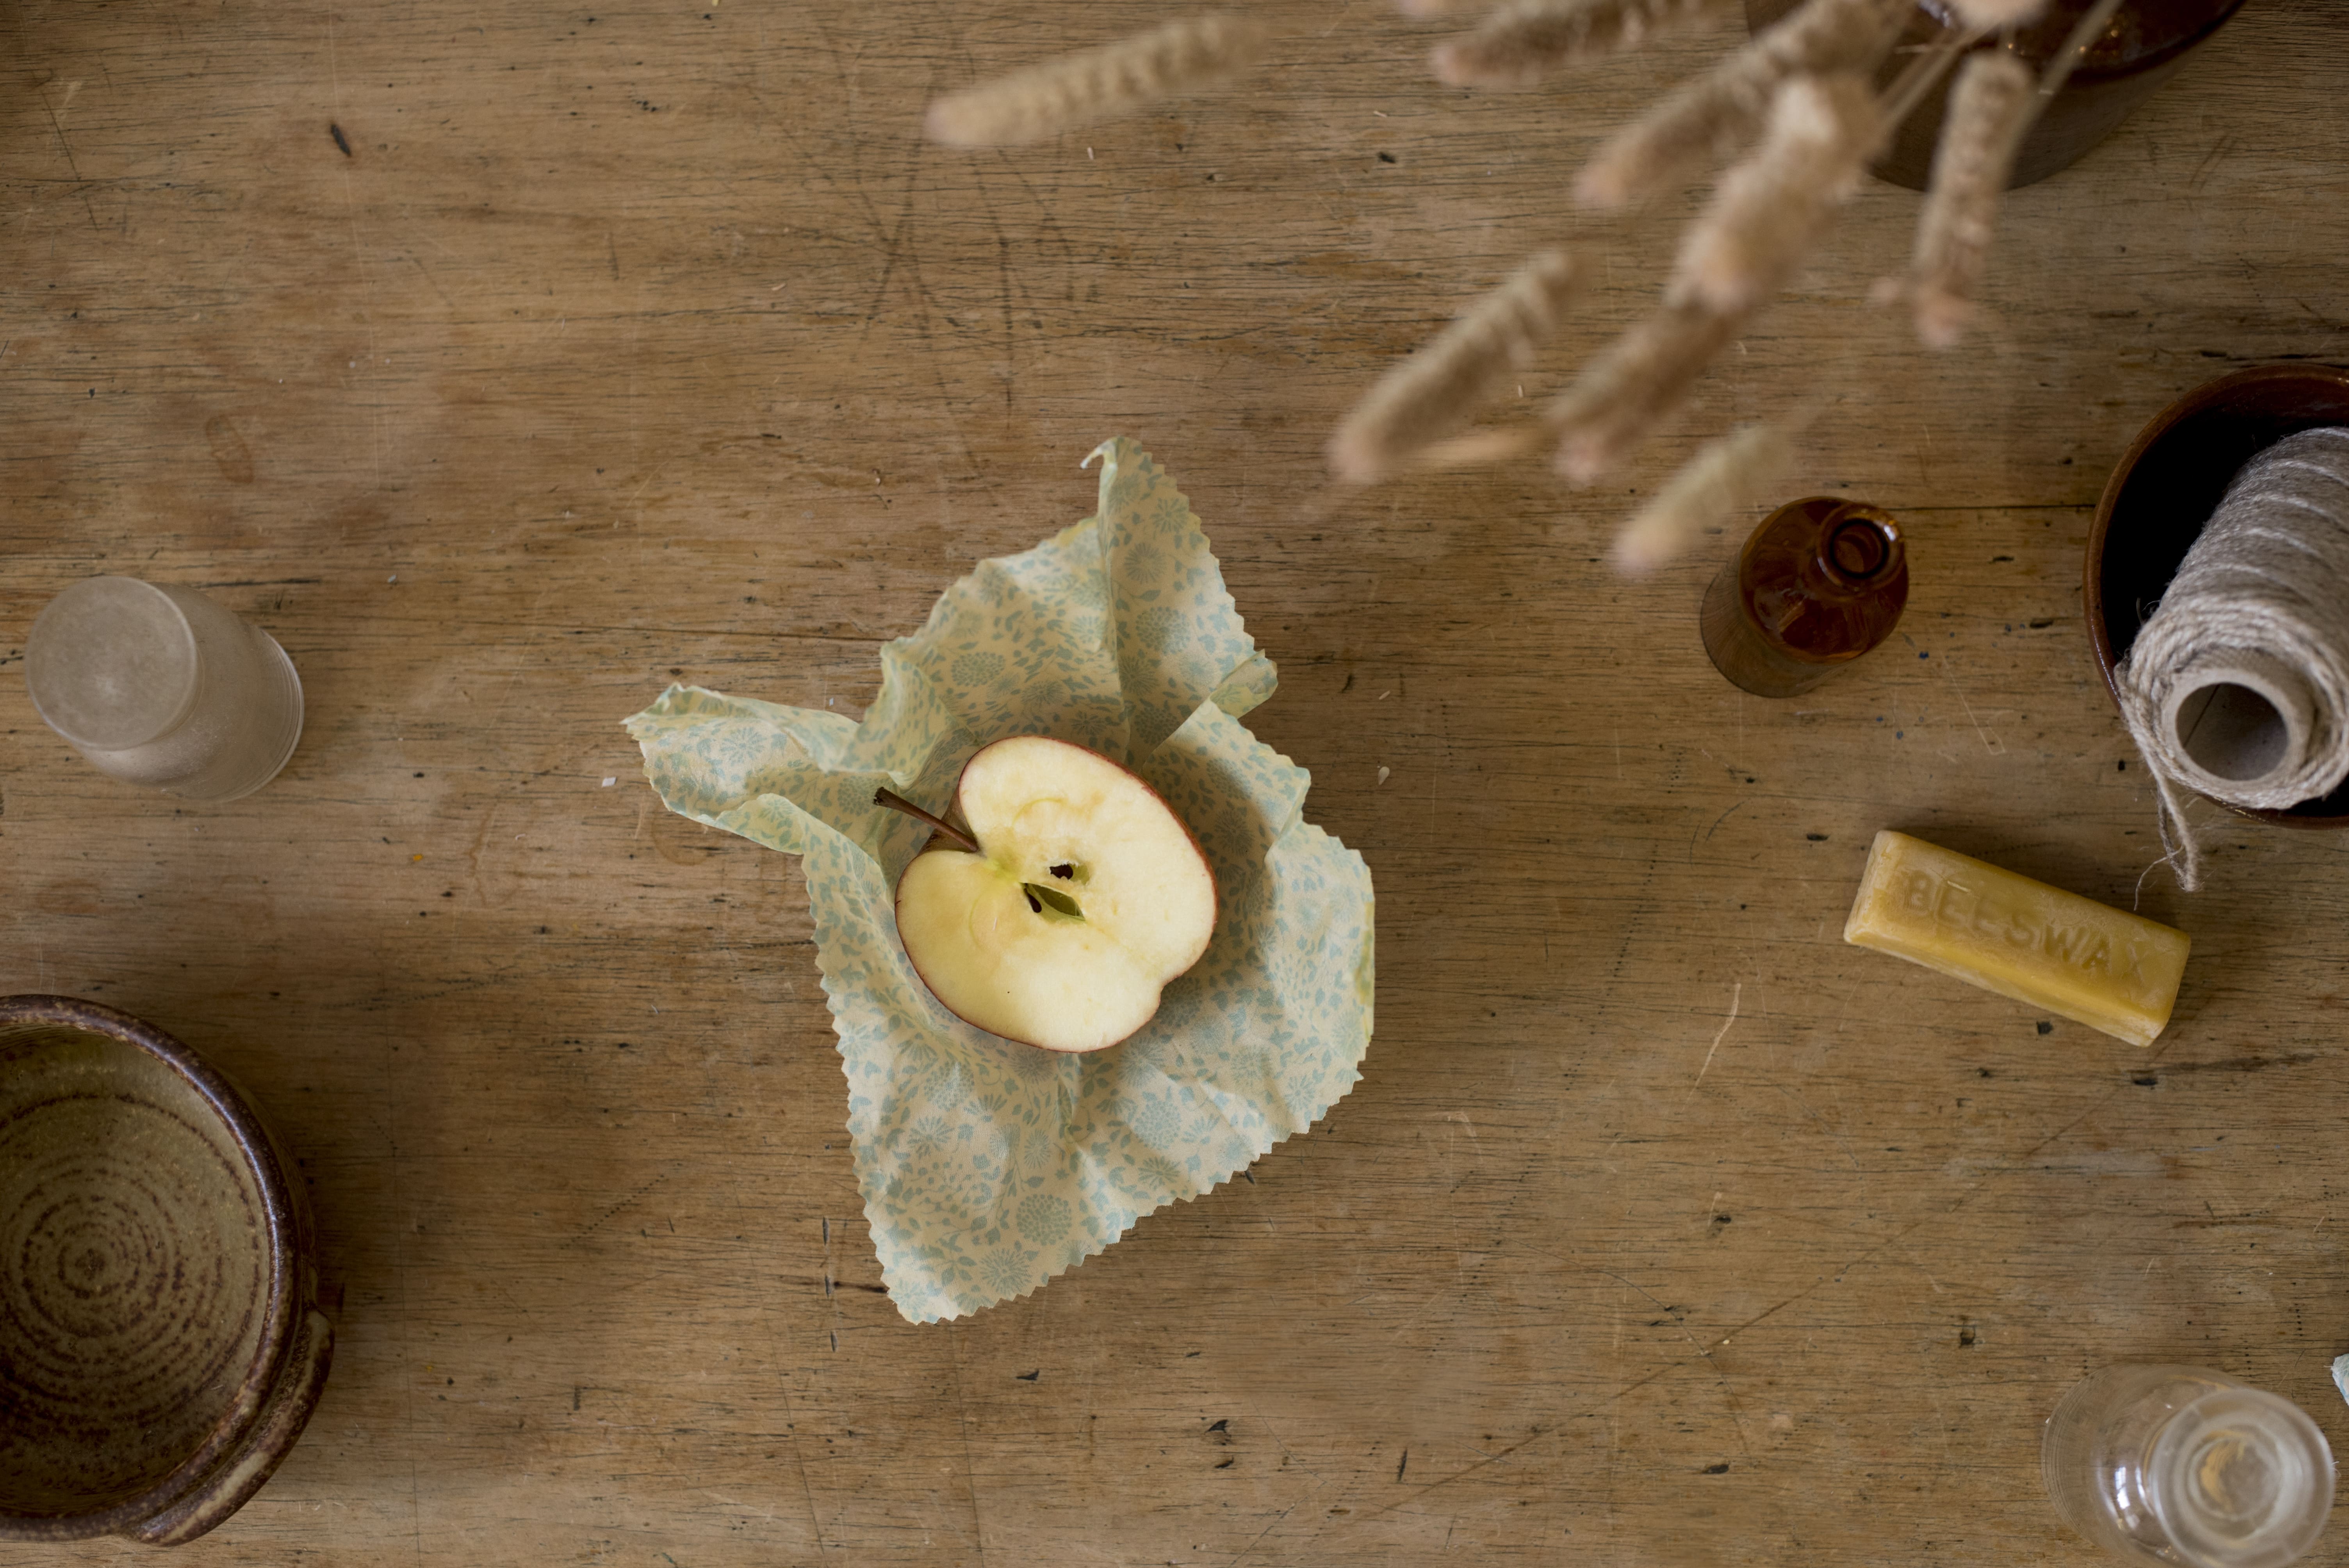
3. Place your fabric square down on the baking paper and sprinkle a little beeswax over (you can always add more if you need to, best to start with a sparse covering and add as required)
4. Place a second sheet of baking paper over
5. Iron over the baking paper, you will notice the wax melting and the fabric turning darker, which means it’s absorbing! You may need to top up patches with a little more wax
6. Once all the beeswax has melted, take out the fabric and leave to dry
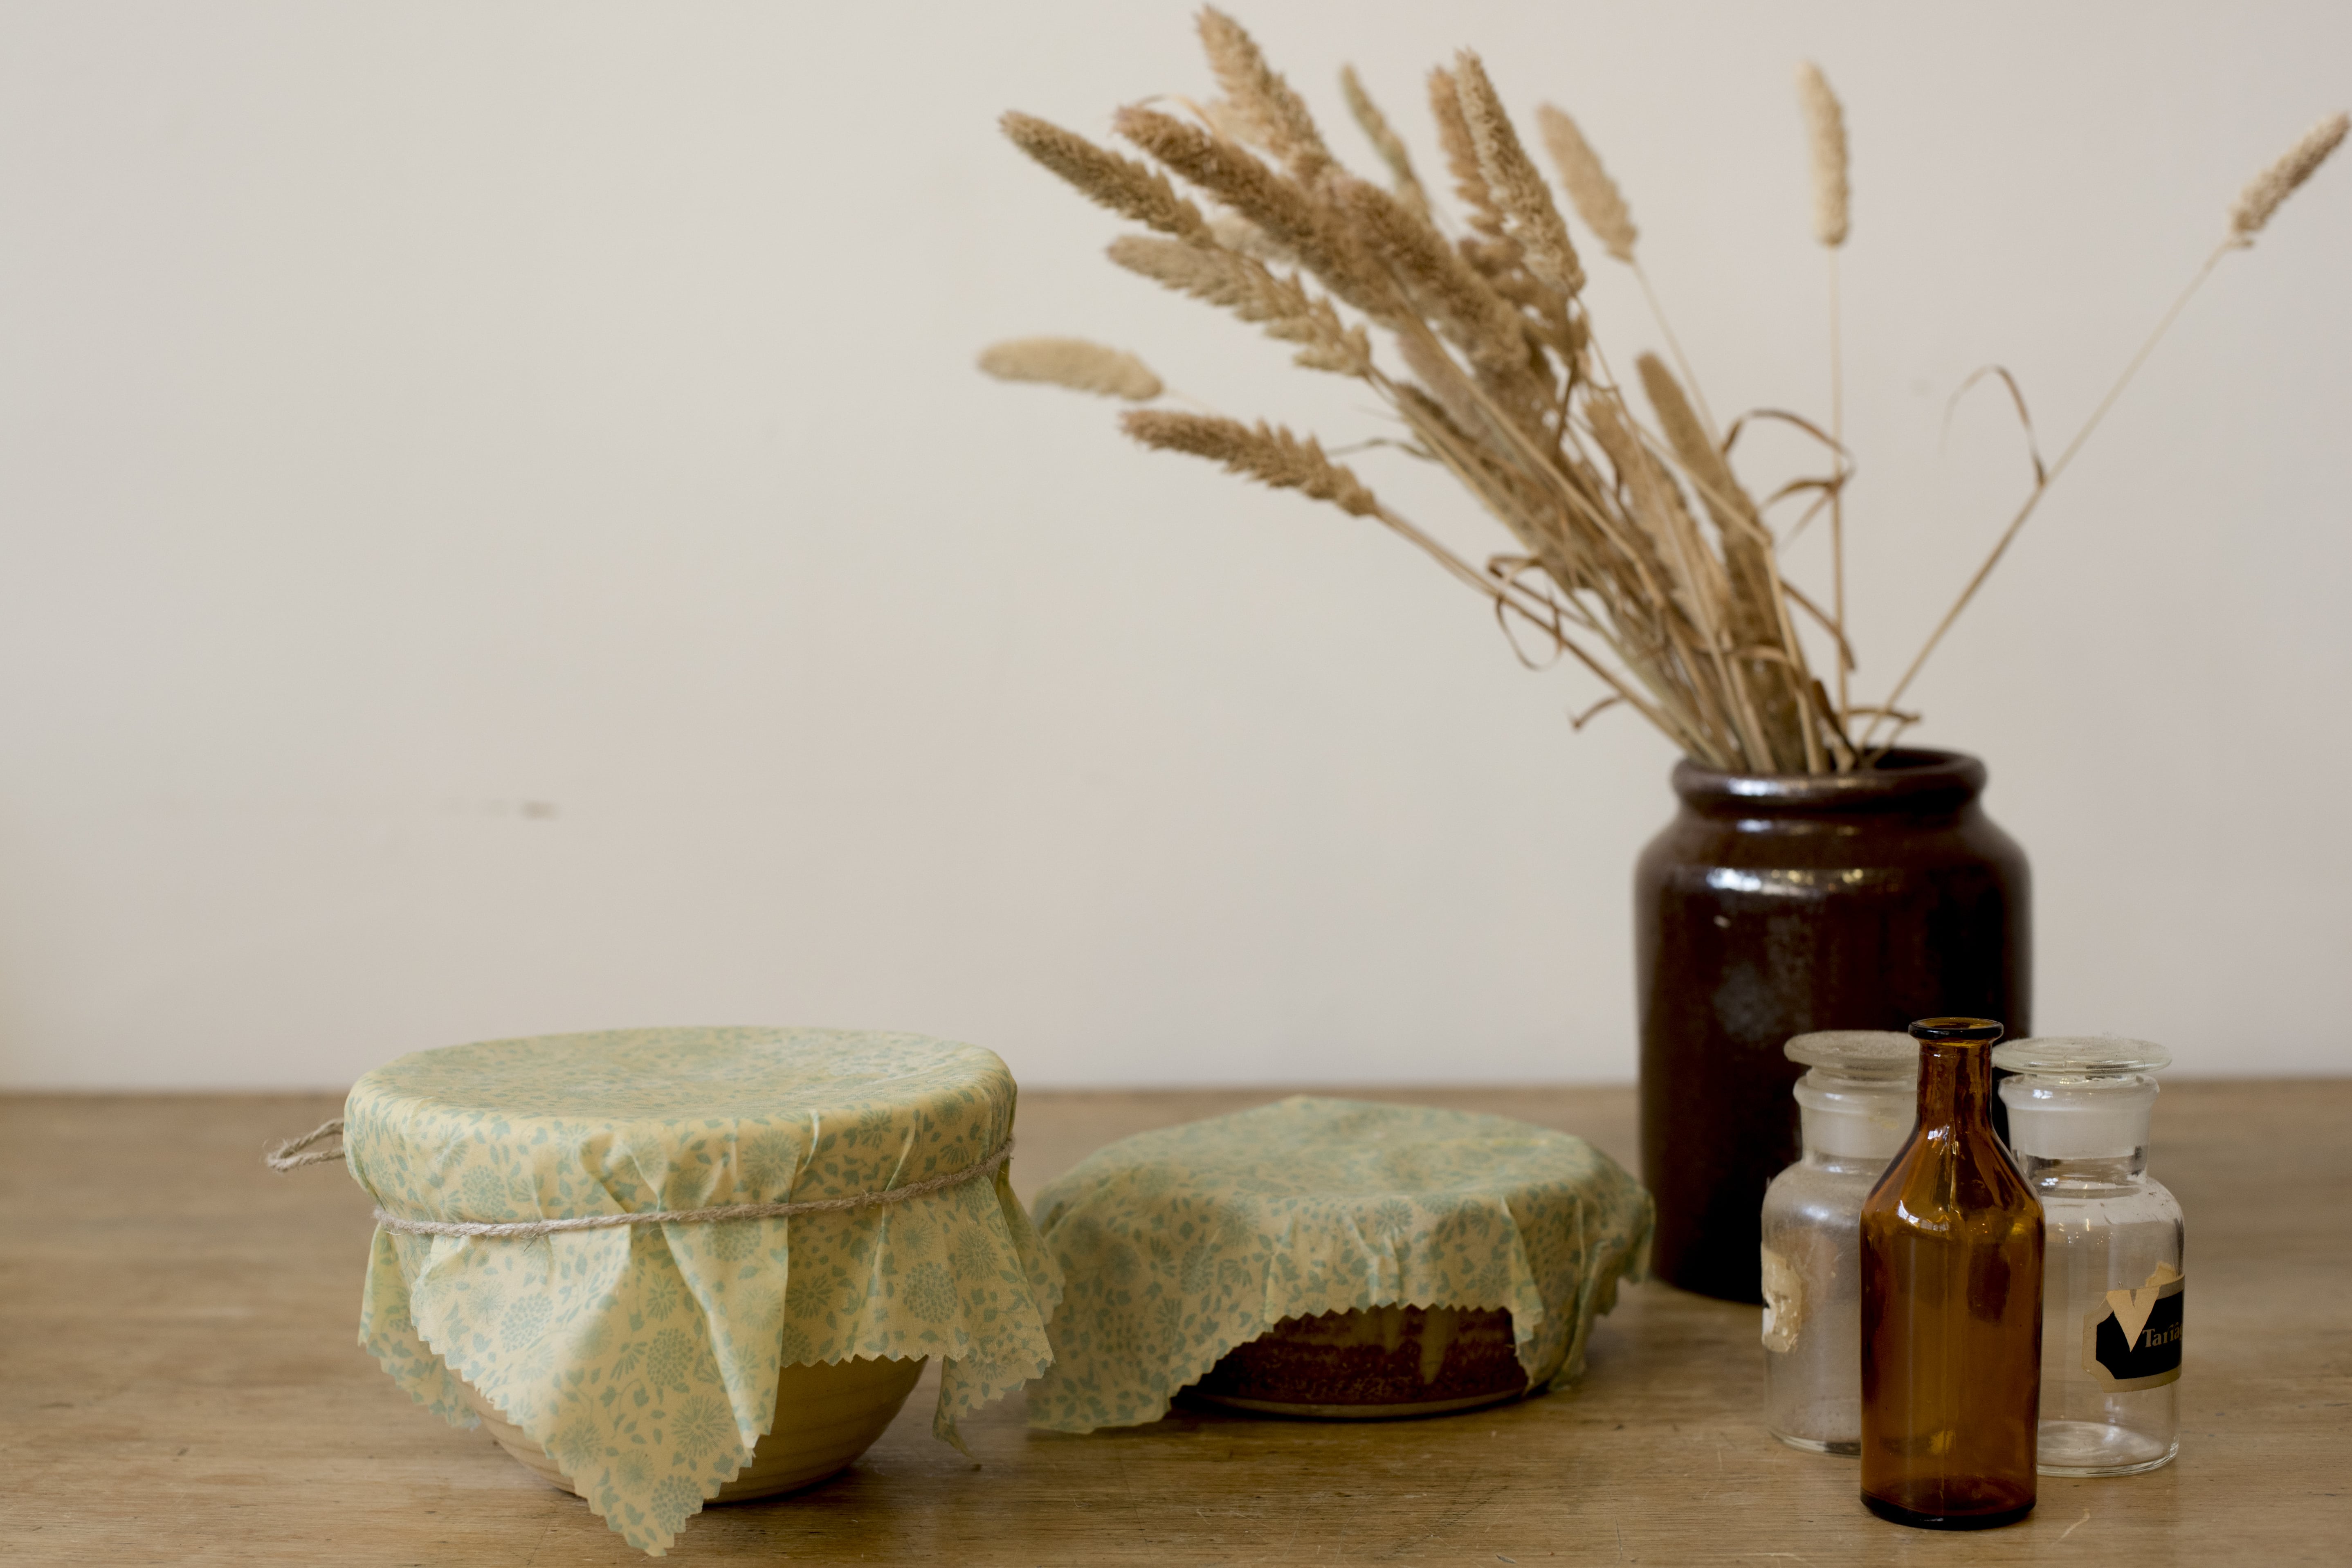
Can be used to wrap food once dry. To maintain this wrap, wash with water and a gentle soap after use, do not put in the dishwasher. It cannot come into contact with raw meat. After a while it may lose its ability to be shaped easily, you can easily top up the beeswax by repeating the above steps.
We hope you and your little ones enjoy getting crafty together, and being kind to the earth at the same time! Nb xx
- 16 uses for a nappy square
 Read More
Our beautifully soft and absorbent nappy squares will soon become one of your baby essentials, with 16 different ways to use them!
- why organic is important: amy whiteford
 Read More
Amy from our Production Team has been with Nature Baby for over 12 years now, and visits our organic factories in India regularly. We hope you enjoy hearing a little bit about Amy, what she does, and why.